An ice dam is a ridge of ice that builds up along the lower edge of a roof and stops melting snow from draining off. The water that pools behind it backs up under the shingles and can leak into your attic, walls and ceilings. Ice dams are caused by heat escaping from the house into the attic, so the lasting fix is in the attic, not on the roof.
What is an ice dam on a roof?
Think of an ice dam as a small frozen levee at the eaves. Three things have to happen at once for one to form, according to the University of Minnesota Extension:
- There is snow on the roof.
- The upper part of the roof is above 32°F. Usually that is because warm air from the living space has leaked into the attic and is warming the roof deck from below.
- The lower edge of the roof is below 32°F. The eaves overhang the outside wall, so nothing heats them from below and they stay as cold as the outdoor air.
Snow on the warm upper roof melts from underneath, the water runs down to the cold eaves and refreezes. Each day the ridge grows a bit, and meltwater pools behind it. Shingles are built to shed water running downhill. They are not made to hold back standing water, so the pooled water works its way up under the shingle laps and into the roof deck.
Sunny days after a big storm, followed by hard overnight freezes, speed this up. That is a normal winter week in the Sierra Nevada, which is why ice dams are such a common winter claim around Lake Tahoe.
What does an ice dam look like?
From the ground, look for these signs:
- A thick band of ice along the eaves or packed into the gutters, often with snow still sitting on the roof above it.
- Large icicles, especially ones growing out from behind the gutter or down the siding. Icicles alone do not prove you have a dam, but big ones are a strong warning that the roof edge is freezing.
- Ice on exterior walls, soffits or window frames, which means water is getting behind the roof edge.
- Uneven melting. Bare patches or melted streaks on the upper roof while the eaves stay frozen show where heat is escaping.
Inside, watch for water stains or peeling paint on ceilings near outside walls, damp insulation or frost on the underside of the roof deck in the attic, and water around window tops on the upper floor. Our guide to ceiling water damage explains how to tell whether a stain is still active.
What damage can an ice dam cause?
Ice dam damage is usually worse than it looks from outside, because water can soak into the building for days before a stain shows up.
- Roof leaks and wet attic insulation. Wet fiberglass or cellulose insulates poorly and usually has to be replaced.
- Stained, sagging or collapsing ceilings. Water collects on top of the drywall until it shows through or the board gives way.
- Wet wall cavities. Water runs down inside exterior walls, wetting insulation and framing and sometimes reaching electrical wiring.
- Mold. Wet materials that are not dried within roughly 24–48 hours can start growing mold. See mold remediation vs. removal if that has already happened.
- Gutter and fascia damage. Ice is heavy and can pull gutters loose, bend hangers and rot fascia boards.
- Falling ice. Big icicles and slabs that break off the eaves can injure people and damage cars, decks and railings.
If water is coming through a ceiling light or running near outlets, switch off that circuit at the breaker before you touch anything. Stay out of any room where the ceiling is sagging. For what to do in the first hours, see our guide to the first 24 hours after an emergency.
How to remove an ice dam safely
Getting rid of a roof ice dam is a short-term fix. The goal is to drain the water behind it without damaging the roof or getting hurt. Ladders on ice cause serious falls, so if you cannot do the work from the ground, hire a pro.
1. Rake the snow off the lower roof
A long-handled roof rake lets you pull snow off the bottom 3–4 feet of the roof while standing on the ground. That removes the snow that feeds the dam. Use a plastic or aluminum head, pull straight down the slope, and leave a thin layer of snow so you do not scrape the shingle granules off. Never stand directly under the area you are raking.
2. Melt drainage channels with calcium chloride
Fill a nylon stocking or tube sock with calcium chloride ice melt and lay it across the dam, running up and down the slope so it hangs slightly over the gutter. Over several hours it melts a channel that lets the trapped water drain. Do not use rock salt (sodium chloride). It is less effective and is hard on metal flashing, gutters and plants. Cover shrubs below with a light tarp, since the salty runoff can burn them.
3. Hire a steam crew for big or leaking dams
Professional removal uses low-pressure steam, which cuts through the ice without damaging shingles. Angi's 2026 cost data puts ice dam removal at around $650–$2,400, with an average of about $1,200. Crews typically charge $150–$700 per hour, often with a two-hour minimum, and rates go up right after big storms. Ask any crew you are considering whether they use steam or pressure washers. Pressure washers can blow granules off and force water under the shingles.
What not to do
- Never chip or hammer at the ice with axes, picks or shovels. You will break shingles and flashing, and the impact can crack frozen gutters.
- No open flames, torches or heat guns on the roof.
- Do not climb onto a snowy or icy roof. Falls are the biggest danger in this job.
- Do not count on spot fixes. Channels refreeze within days if the attic keeps warming the roof.
How to prevent ice dams
Ice dams are a heat-loss problem, so prevention means keeping the whole roof deck cold. Fix things in this order:
| Fix | What it does | Notes |
|---|---|---|
| Air sealing the attic floor | Stops warm, moist air leaking into the attic | Most effective step. Seal around light fixtures, plumbing and wiring holes, chimneys and the attic hatch. |
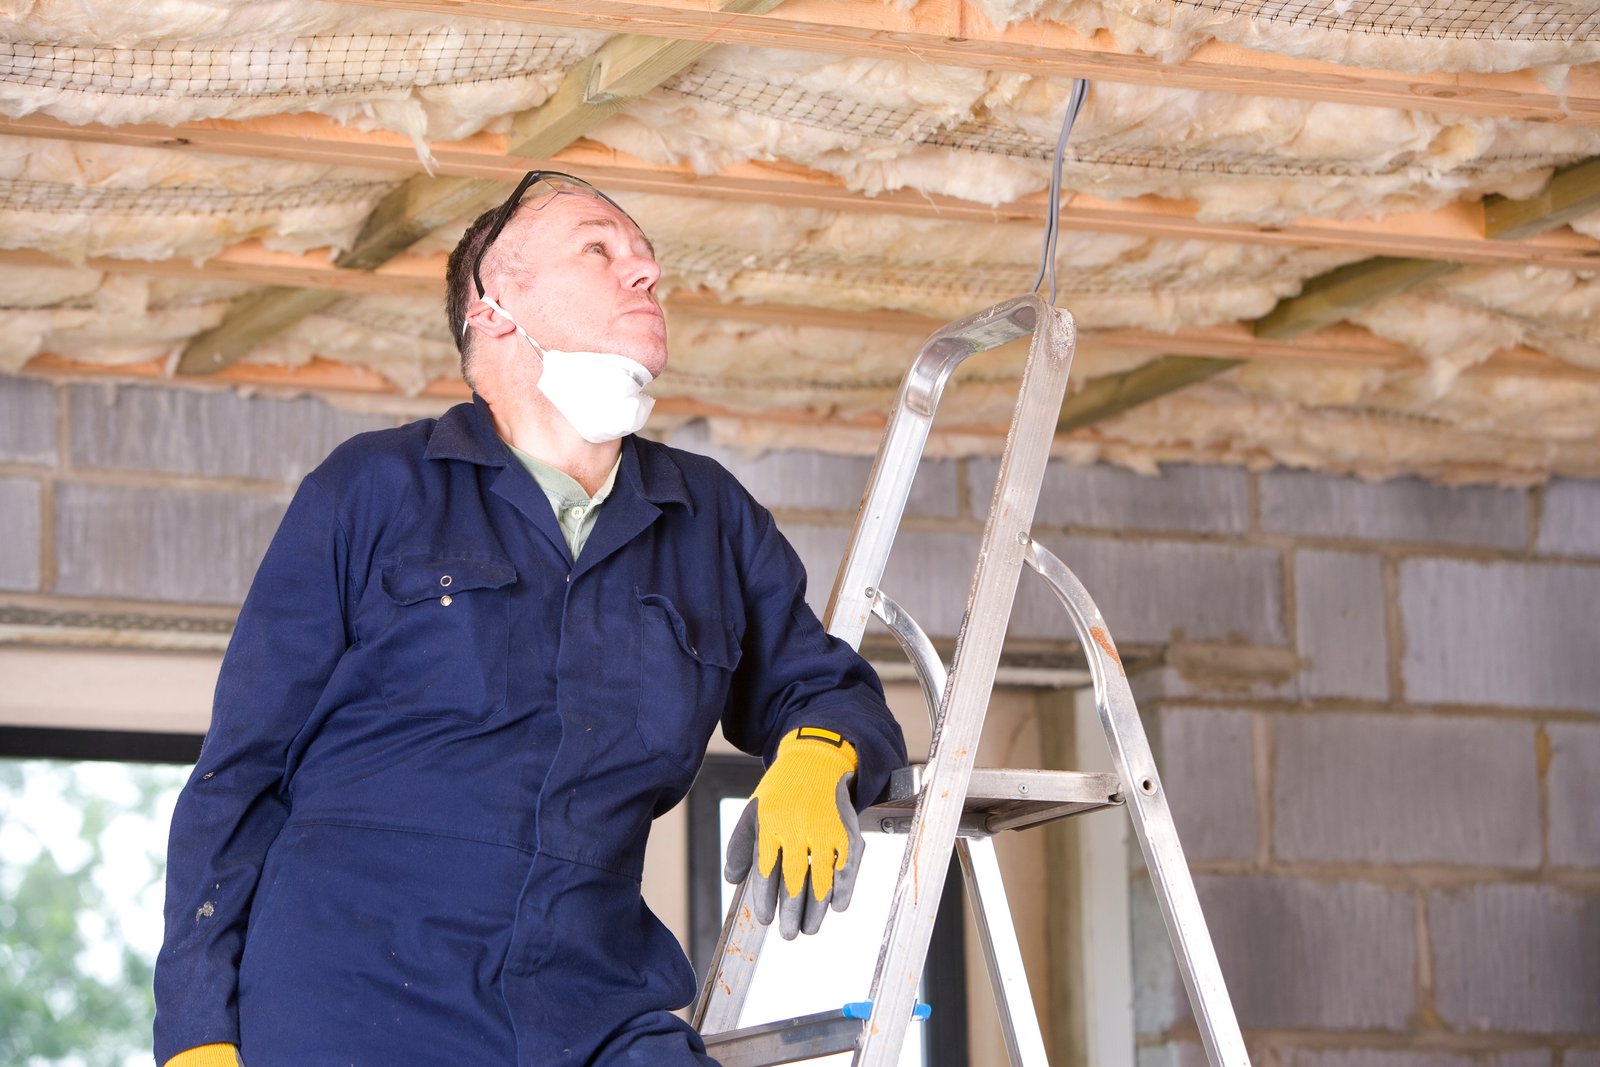
| Attic insulation | Slows heat moving through the ceiling | The National Weather Service suggests at least R-30, and R-38 or more in snowy climates. Minnesota's Commerce Department recommends R-50 where space allows. |
| Ventilation (soffit to ridge) | Moves cold outside air under the roof deck | Keep soffit vents clear of insulation. Adding vents without air sealing first does not solve the problem. |
| Ice and water shield | Self-adhering membrane under shingles at the eaves | Limits leaks when water does back up. Building codes require it at the eaves in areas where ice dams are common. It does not stop dams from forming. |
| Heat cables | Melts drainage paths through the ice | Treats the symptom, not the cause. See pros and cons below. |
| Clean gutters and raking | Keeps water moving and takes away the snow that feeds a dam | Clean gutters in fall and rake after every big storm. |
Many utilities and state energy programs subsidize energy audits with a blower-door test, which shows where your attic is leaking air. Bathroom fans and dryer vents that empty into the attic instead of outdoors are common culprits and cheap to fix.
Heat cables: pros and cons
Zig-zag heat cables along the eaves and in the gutters melt channels so water can drain. They help on complex roofs, valleys and spots where better insulation is not practical. They also have real downsides. They use electricity all winter, they do not stop ice from forming above them, and badly installed clips can damage shingles. Minnesota's Department of Commerce advises against them for that reason. Angi's 2026 figures show installation commonly running $500–$4,600 depending on roof length and access. If you install them, use UL-listed cable on a dedicated GFCI-protected circuit, and run it through the gutters and downspouts too, or the water just refreezes there.
Ice dams and snow load in the Sierra and Lake Tahoe
Mountain homes face both ice dams and heavy snow. The City of South Lake Tahoe designs new buildings for a ground snow load of 150 pounds per square foot and requires ice barrier underlayment on roofs. Many older cabins were built to lower standards, and wet spring snow that melts and refreezes gets much heavier. Watch for doors that suddenly stick, new ceiling cracks or creaking in the framing, all of which can mean the roof is overloaded. In that case, roof snow removal by an insured crew is a safety issue, not a nice-to-have.
Second homes have one more problem. A cabin heated to a low setback temperature still loses enough heat to form dams, and nobody is there to see the first stain. If you own a vacation property, arrange for snow removal after big storms and put a water-leak sensor in the attic and upstairs ceilings. The same steps protect against frozen pipes.
Does homeowners insurance cover ice dam damage?
Generally, yes for the water damage inside. The Insurance Information Institute notes that standard homeowners policies cover damage from ice dams when water backs up and seeps into ceilings and walls. Removing the ice itself, or fixing the insulation and ventilation that caused it, is often not covered, because insurers treat that as maintenance. Policies also expect you to take reasonable steps to prevent winter losses.
To protect your claim, photograph the ice from the ground and the damage inside, start drying right away, keep receipts for emergency work, and report the loss promptly. Our insurance restoration claims guide walks through the process, and storm damage restoration covers what drying and repair usually involve. If you need a contractor, get quotes from at least two or three licensed local firms. Our checklist on choosing a restoration contractor can help you compare them.
Sources
- University of Minnesota Extension: Dealing with and preventing ice dams
- National Weather Service: Preventing Roof Ice Dams
- Minnesota Department of Commerce: Ice dams tips
- Insurance Information Institute: Homeowners insurance and late-winter water damage
- City of South Lake Tahoe Building Division: design criteria (ground snow load, ice barrier)
- Angi: Ice dam removal cost (2026 data)
Frequently asked questions
What is an ice dam on a roof?
An ice dam is a ridge of ice that forms along the lower edge of a roof. Heat leaking into the attic melts snow higher on the roof, and the meltwater refreezes at the colder eaves. The ridge then traps more meltwater behind it, which can back up under shingles and leak into attic insulation, walls and ceilings.
What does an ice dam look like?
Look for a thick band of ice along the eaves or packed in the gutters, often with large icicles hanging from behind the gutter or down the siding. Snow is usually still on the roof above it. Inside, the giveaways are water stains or peeling paint on ceilings near exterior walls and damp insulation in the attic.
How do I get rid of an ice dam safely?
From the ground, use a roof rake to clear the bottom 3 to 4 feet of snow, then lay a stocking filled with calcium chloride across the dam to melt a drainage channel. Never chip the ice or use rock salt or open flames. For large or leaking dams, hire a crew that uses low-pressure steam.
How can I prevent ice dams?
Keep the roof deck uniformly cold. Air seal the attic floor around lights, pipes, wiring and the hatch, add insulation, and keep soffit-to-ridge ventilation clear. An ice and water shield membrane at the eaves limits leaks, and raking snow after storms helps. Heat cables only melt channels and do not fix the underlying heat loss.
Does homeowners insurance cover ice dam damage?
Standard homeowners policies generally cover interior water damage when an ice dam forces water into ceilings and walls. Removing the ice and correcting insulation or ventilation problems is often treated as maintenance and may not be covered. Document the damage with photos, start drying right away and report the claim promptly.
How much does professional ice dam removal cost?
Recent national cost data puts professional ice dam removal at roughly $650 to $2,400, with an average near $1,200. Steam crews commonly charge $150 to $700 per hour, often with a two-hour minimum. Roof size, pitch, ice thickness, access and post-storm demand drive the price.

Restore Upper Truckee is an independent guide site for homeowners dealing with water, fire, smoke, mold and storm damage. Every guide is researched against EPA, FEMA and insurance-industry sources, and we don’t sell restoration services. Read our editorial policy.